Published on 29 September 2026 · 8 min read
Steaming milk: from bubbles to velvet
Milk foam is where most home baristas get stuck, and that is because nearly everyone treats it as one action. It is two: first put air in, then tear that air apart. In the wrong order you get washing-up foam with large bubbles that collapses within a minute. In the right order you get something that shines and pours into the cup like wet paint.
What happens inside the milk
Milk foam is air held together by milk protein, with milk fat making the whole thing creamy. The proteins do the real work: they form a film around every bubble of air. The smaller those bubbles, the firmer and smoother the foam.
That is why temperature counts. Above sixty-five degrees those proteins start to change and the foam loses its structure, and above seventy you get the cooked flavour that never comes back out.
The sweetness you taste in a good cappuccino, incidentally, does not come from sugar but from lactose, which shows best between fifty and sixty degrees. Steaming too hot literally costs you flavour.
- Aim for 60 to 65 degrees, and actually stop there.
- Above 70 the milk is scorched — there is no undoing that.
- Starting cold buys you time to steer: milk straight from the fridge.
The two phases, in order
Phase one is aerating. Set the wand just below the surface and let it draw air in: you hear a calm, regular hiss, roughly like tearing paper. This lasts only briefly — three to five seconds for a cappuccino, one to two for a flat white.
Phase two is swirling. Push the wand slightly deeper so the hissing stops and tilt the jug so the milk turns like a whirlpool. This is where the real work happens: that movement breaks the large bubbles you just made until they are invisible.
Phase two takes far longer than phase one, and that is exactly where beginners go wrong. Keep drawing air too long and you get foam you have to spoon.
- Hissing = adding air. Only at the start.
- No sound, visible whirlpool = grinding the bubbles down.
- If the jug gets too hot to hold, you are already past your target.
What you need and what you do not
A metal milk jug is not a luxury but an instrument: you feel the temperature through the metal, and the spout decides whether you can pour. A half-litre jug is usually the right size at home, even for a single cup.
Fill it to just below the kink of the spout. Milk nearly doubles in volume, and an over-filled jug overflows exactly when things start going well.
A thermometer — clip-on or a cheap digital one — is the fastest tuition you can buy. After a week or two you will feel it through the jug and can drop it, but not before.
Which milk works, and which does not
Whole cow’s milk is the easiest: enough protein for structure and enough fat for creaminess. Semi-skimmed foams higher but drier, and collapses sooner.
Plant milk only works if it is a barista version. Those carry added protein and a stabiliser, which is exactly what ordinary oat or almond milk lacks. Without it you get foam that separates the moment it meets the espresso.
Of the plant options oat is the most forgiving, soy comes next, and almond stays difficult even in barista form. Plant milk also overheats sooner: hold it to fifty-five to sixty degrees.
- Whole milk: easiest, creamiest.
- Barista oat: the most reliable plant-based choice.
- Ordinary plant milk with no "barista" on the carton: expect nothing from it.
The four mistakes everyone makes
Drawing air too long. The hiss sounds productive, so people keep going. Three seconds really is three seconds.
Too hot. The milk only feels hot once you are already past it, so measure early on.
Letting it stand. Foam separates within half a minute. Tap the jug once on the counter to break the last coarse bubbles, swirl it briefly, and pour straight away.
Not purging the wand. Milk residue bakes onto the inside and blocks the holes. Purge it after every jug and wipe it with a cloth — ten seconds of work that saves a repair.
If your machine has an automatic milk system
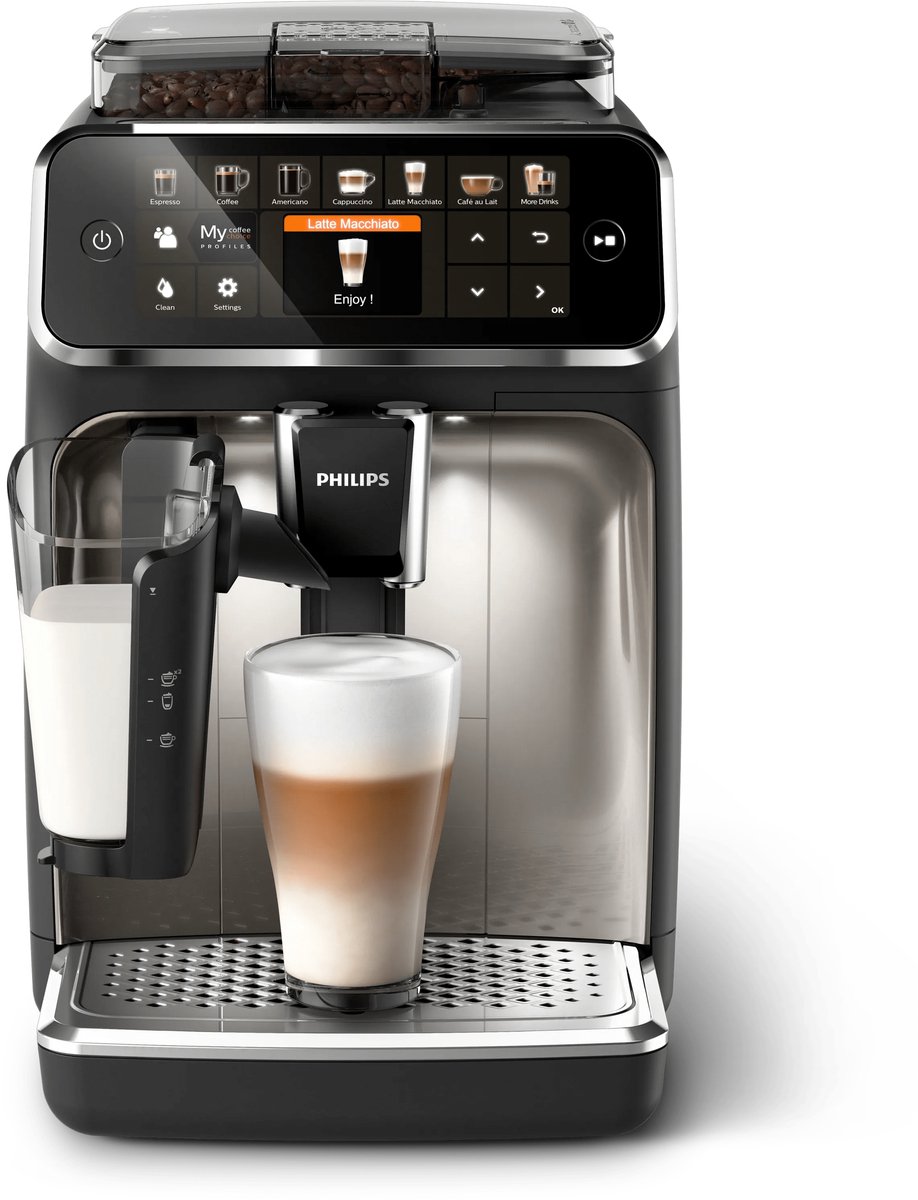
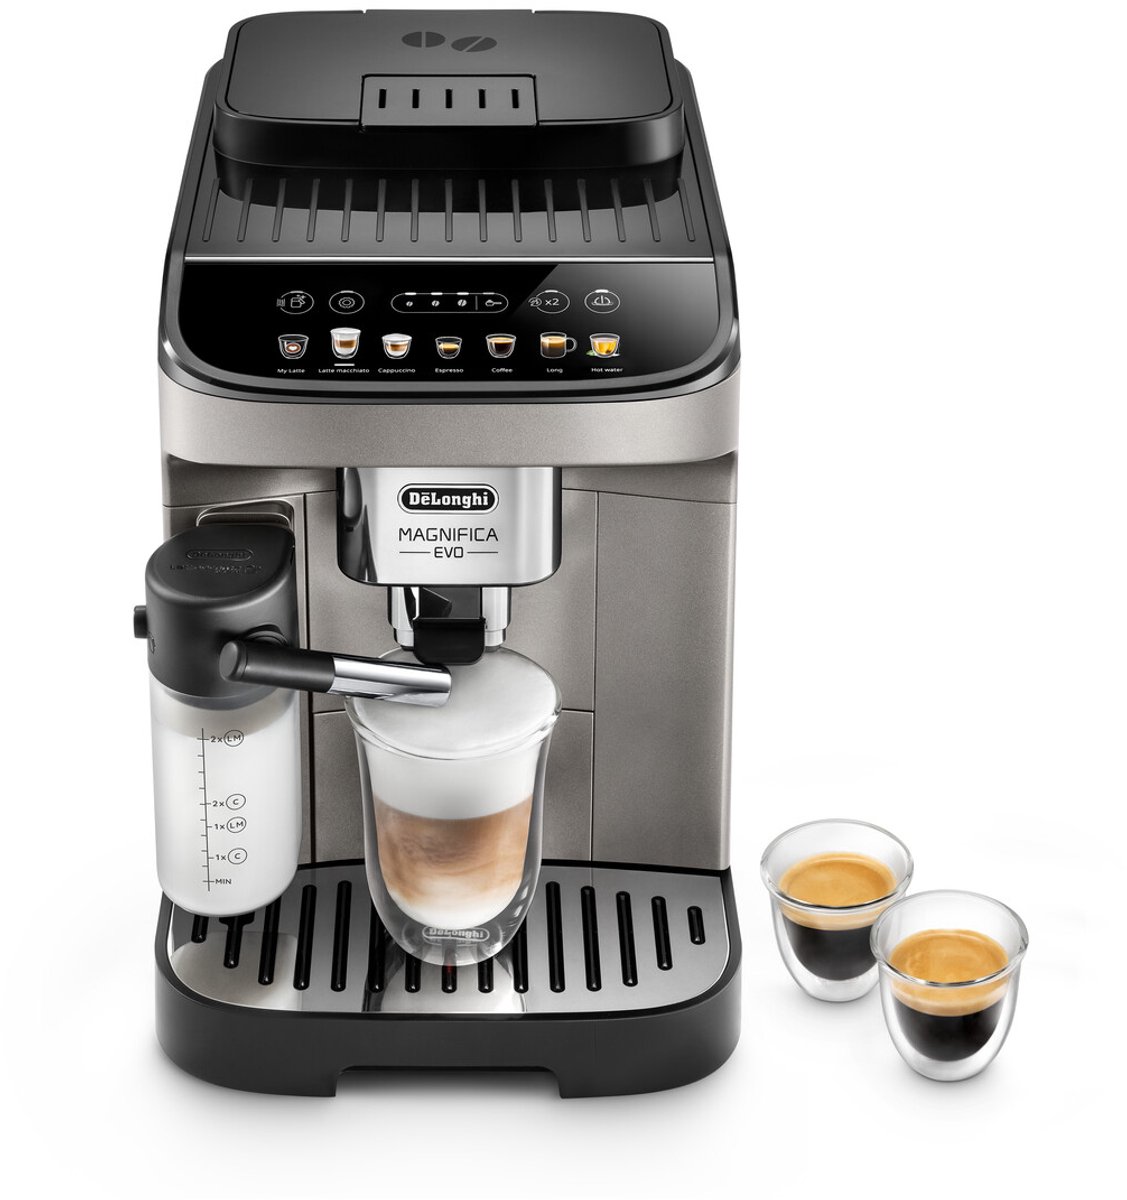
Bean-to-cup machines with a milk hose or milk jug do all of the above themselves, and most do it reasonably. What you still decide: the kind of milk, whether the container is cold, and how clean the system is.
That last one is where these systems fail. Milk in a hose spoils quickly and builds up, and you taste it sooner than you see it. Rinse the system with the rinse function after every day of use, and clean it weekly with milk cleaner.
Many systems have a slider for the amount of foam. That adjusts how much air the machine draws in — the same control as phase one above, except the machine does the swirling for you.